Body weight exercises are great for maintaining strength gains or focusing more on muscular and cardio-respiratory endurance. But if your goal is to add strength or muscle mass, using the added resistance of weights is essential. When you use weights, you are actually breaking down the muscle fibers. When they repair themselves, they become stronger and more resilient. This is what promotes hypertrophy in the muscles you’re targeting, helping them to get stronger.
Whether you’re using dumbbells, bands, or two bottles of water, adding resistance to your workout takes it up a notch. Our arms are used to reaching overhead with only the weight of our arms to lift. So when you add even the lightest amount of weight you challenge the moving muscles. Muscles which then have to hold the weight and resist it from dropping straight to the ground. Simply put, if you want to get stronger, you’re going to need to add a little weight.
How to lift weights at home
1. Start with Body Weight Exercises
Before you even begin to integrate weights into your routine, you need build strength with body weight exercises. These moves are the “building blocks” of an effective at-home strength training routine.
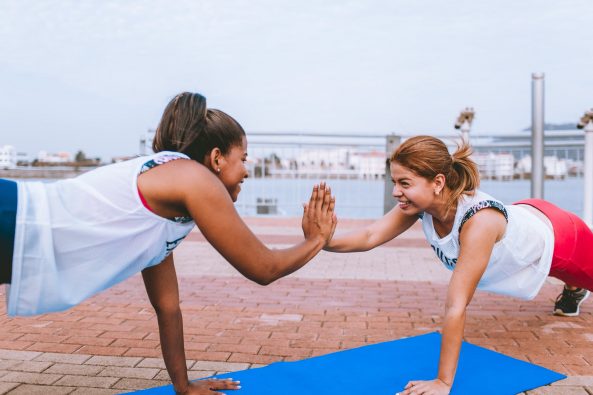
Test your body mechanics with basic movements and exercises. Test how low your hips and ankles allow you to go in a squat, whether or not you can hold a plank and for how long. As well as how long you can balance yourself on one leg or in other unstable conditions. You want to be sure to test your body’s functional movements like bending, twisting, flexing, and balancing. This will mean that you won’t hurt yourself when you add load.
Spend some time getting comfortable with body weight moves, and when those start to feel easy, it’s time to add some load.
2. Select your Weights
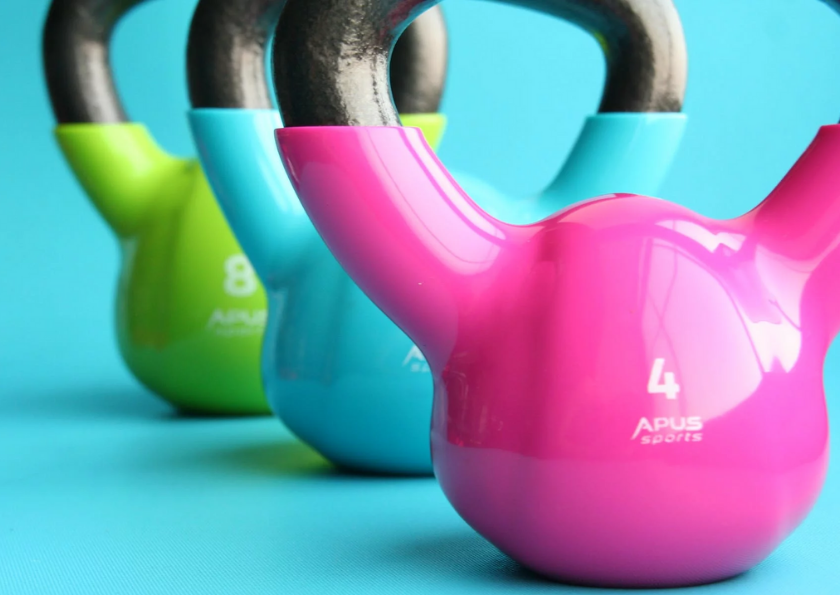
The next step is to grab some weights. But you’re going to want to put some thought into exactly what you’re lifting. If your goals are to add muscle mass and increase strength output, look for a good combination of dumbbells, free weights, kettlebells, weighted functional accessories and items that will add load to your targeted muscles.
To be sure you’re lifting the right weight, there are two factors that come into play. How many reps you’re able to do, and how fast you’re able to get those reps done. Grab a starting set that feels right, and see how quickly you’re able to do 10 reps with them. If it’s fairly quick and easy, level up for your next set. You’ll also want to consider that the weights you use for upper body won’t necessarily be the same size as the one’s you’ll use to work your core and lower body, which is why it’s important to have a full set.
Your best bet is to invest in a set of dumbbells that come in a variety of sizes. You can either go with a multi-weight set that includes a range of light to medium weights, or an adjustable barbell, which allows you to get multiple weight options in a single piece of equipment.
Be mindful of dumbbells with different sized grips. You want one about the size of a broom handle. It’s proven that the larger the grip, the more challenging this is for us and will tire our muscle more quickly, almost feeling as if we are lifting a heavier weight than we are.
With all of that in mind, it’s also worth noting that you don’t necessarily need to invest in a fancy weight set to reap the benefits of an at-home lifting workout. You can use pretty much any item you have at your disposal. A few go-to’s that you likely already have hanging out in your house? Canned goods, water bottles, flour bags, and washing baskets.
3. Warm Up
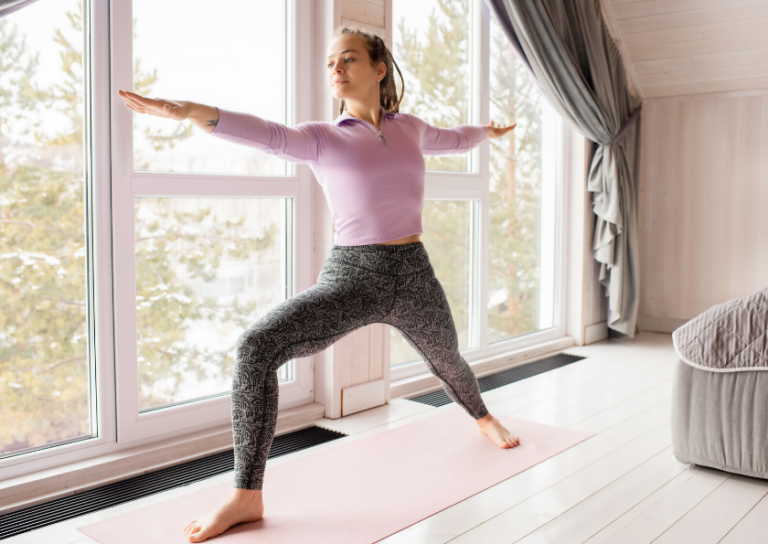
To get your muscles prepped and ready for weights, you must perform a good dynamic warm-up. Flexibility is also very crucial to weight training properly. A dynamic warm up is one that consists of active stretches that mimic how the body will move during your routine. A few of his go-to moves?
1. Bend and reach: Standing with your feet hips-width distance apart, raise your arms overhead to reach toward the sky, then bend forward to fold them to the floor. Repeat this motion quickly to begin to raise your heart rate.
2. Torso trunk twist: From the same standing position, extend your arms out to the side so that they’re perpendicular to the floor. Twist your upper body from side to side without moving your feet, hinging at the waist to get a full rotation.
3. Windmill: Spread your feet slightly wider than your hips and extend your hands up toward the sky, creating an “X” with your body. Reach down to touch your opposite hand to opposite foot, then return to start and repeat on the other side.
4. Jumping jacks: Standing with your feet together and arms by your sides, jump your feet out wide and raise your arms to touch overhead, then jump your feet back in and lower your arms to your starting position.
5. Bum kicks: Standing straight up with your core engaged and head, neck, and shoulders lifted, kick your butt with alternating feet as quickly as possible.
6. High knees: From the same position, run in place with your knees lifting straight up in front of you, as high as you can get them to go.
4. Start Slow & Focus on Form
When it comes to the time to do the actual workout, there are a few things to keep in mind. First things first, start s-l-o-w so your body can adapt to the new routine and you can avoid getting hurt. If you add everything all at once and experience some trouble, it’s harder to identify what the issue is. Is it improper form? Is the weight too heavy? Should I choose a different set of exercises altogether? It’s a lot to work through all at once!
Form and technique should be top of mind during any fitness routine, but are especially important when weight training at home. One of the downsides to lifting from home is that usually there isn’t anyone there to tell you when you are compromising your form by trying to do too much. So start slow, listen to your body and avoid injury by focusing on your body mechanics instead of how much weight you’re lifting.
5. Cool Down
Unlike your warmup, your cool down stretches should be more static, which means you want to be still. We recommend the following to leave you feeling limber:
1. Seated hamstring stretch: Sit on the floor with one leg extended out in front of you and your other bent to create a “figure-four” position in which the sole of your foot is touching your inner thigh. Reach down toward your extended foot, keeping your neck and back straight, until you feel the stretch in the back of your thigh. Hold for 30 seconds, then switch sides.
2. Hip flexor stretch: Lie on your side with your knees bent at a 90-degree angel, and place the foot of your bottom leg inside the loop of a yoga strap. Grasp the other end of the strap with the same hand, and place the other hand around the ankle of your top foot. Extend your upper leg back as far as you can, contracting your glutes and hamstrings. Move through the stretch slowly and repeat for 30 seconds, then switch sides.
3. Triceps overhead stretch: Raise your arms up over head, and bend one arm at the elbow to reach your hand down your back. Use the other hand to grab that elbow to extend the stretch until you feel it in your tricep. Hold each side for 30 seconds.
4. Cobra stretch: Lying on your stomach, bend your elbows and place your palms down underneath your shoulders as you hug your elbows in toward your body. Extend your legs back behind you, pressing the tops of your feet into the mat. Press the pubic bone down, and then pull your hands back towards your front hip points. Inhale as you lift your chest up off of the floor. Extend or straighten through the arms as you bring your shoulders down your back. Hold for 30 seconds.
We hope that you find this guide helpful! Please share it to your social media channels so that we can help others too!


